ISSIS Mobile
Download project and create new project
Select layer and create polygon
Take photo, upload photo and edit photo position and angle
Download project and create new project Video
Download project and create new project Video
Download project and create new project
| Description | Screenshot | |
|---|---|---|
| 1 | Click on Download icon on the top right corner or Download Now button on the centre of the page. |  |
| 2 | The site visit list on the server will be shown. You can choose the site visit by selecting single or multiple checkboxes. After the selection, you can download the selected site visit by clicking on Download selected at the bottom. Click on Find button to search the respective site visit with the exact project name. Click on Select All to choose all site visits below. | 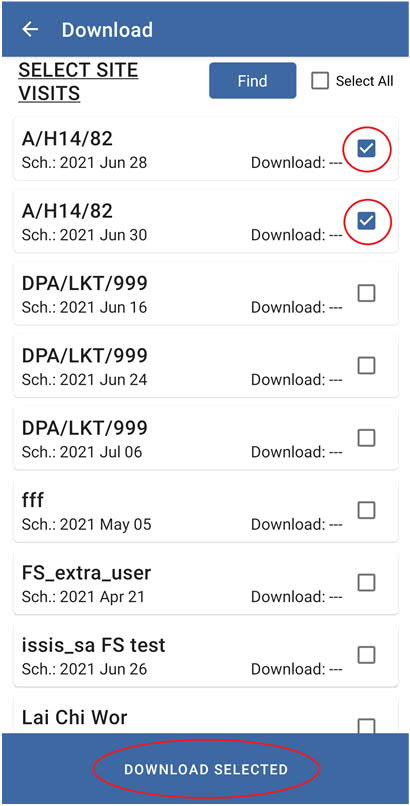 |
| 3 | Click on Return icon to go back to the site visit page. |  |
Select layer and create polygon
Select layer and create polygon
Select layer and create polygon
For selecting Layer:
| Description | Screenshot | |
|---|---|---|
| 1 | Click on Layer icon and a different default layer on the map will be shown. You can choose it by clicking the radio button. |  |
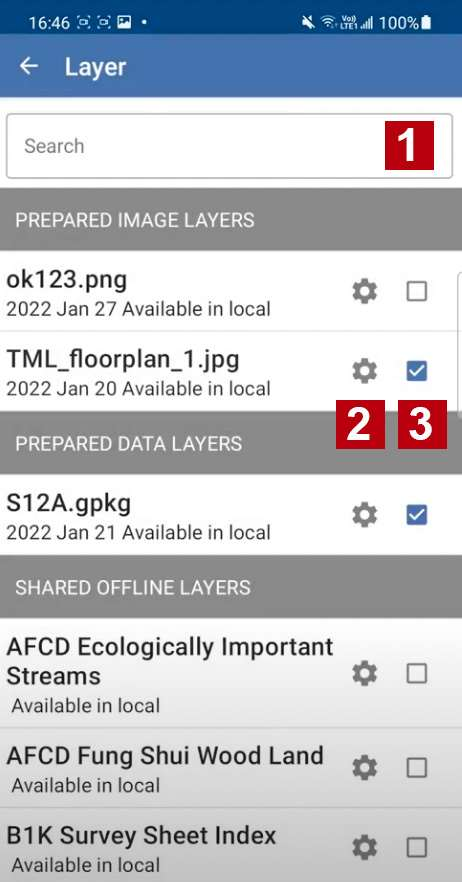
| 2 | After clicking on the more layer, the Layer List will be shown. Select the multiple or single check box before clicking on the save button. | 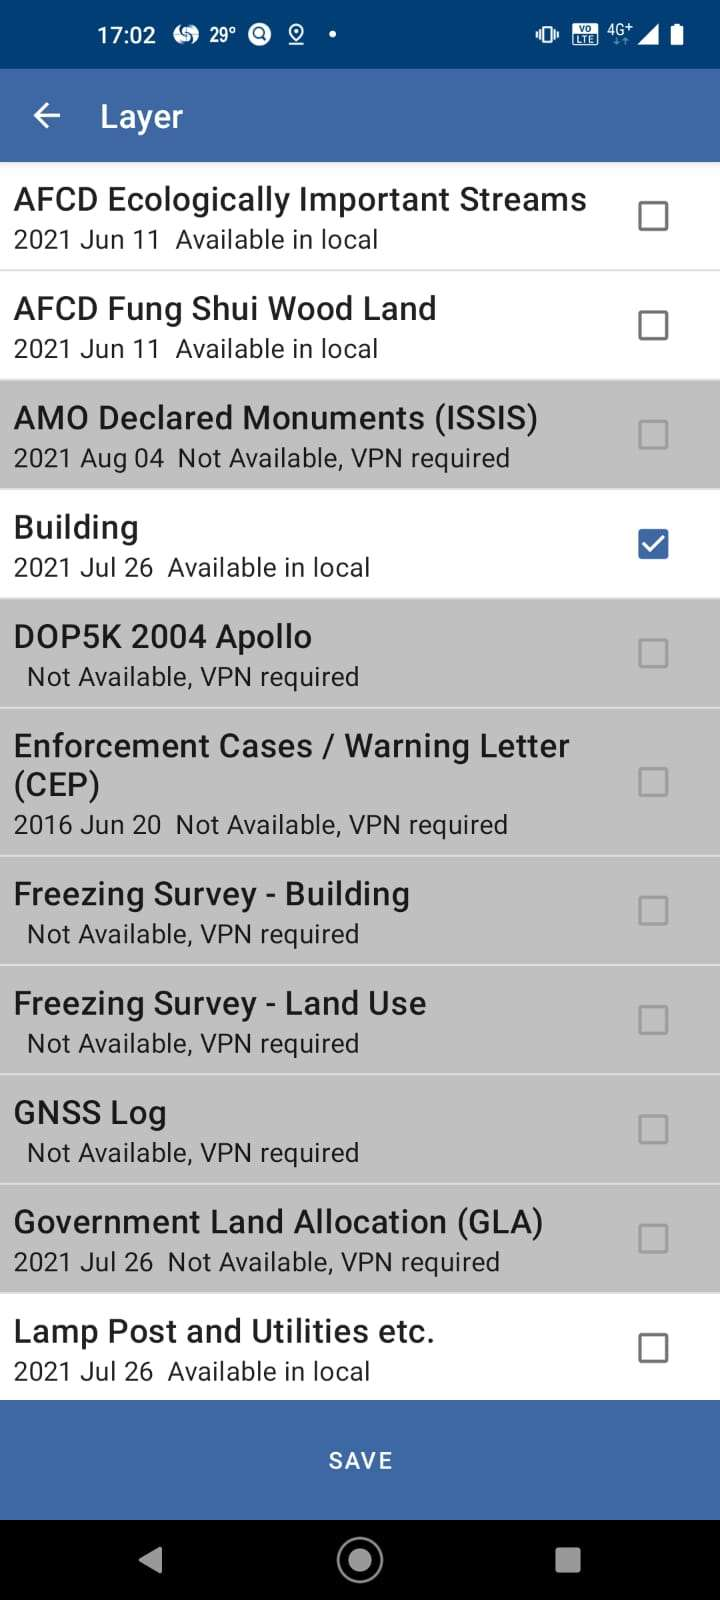 |
| 3 | Before using the GeoPackage file, you can prepare and download the GeoPackage file from your server. Click on More Layer to insert more layer styles. | 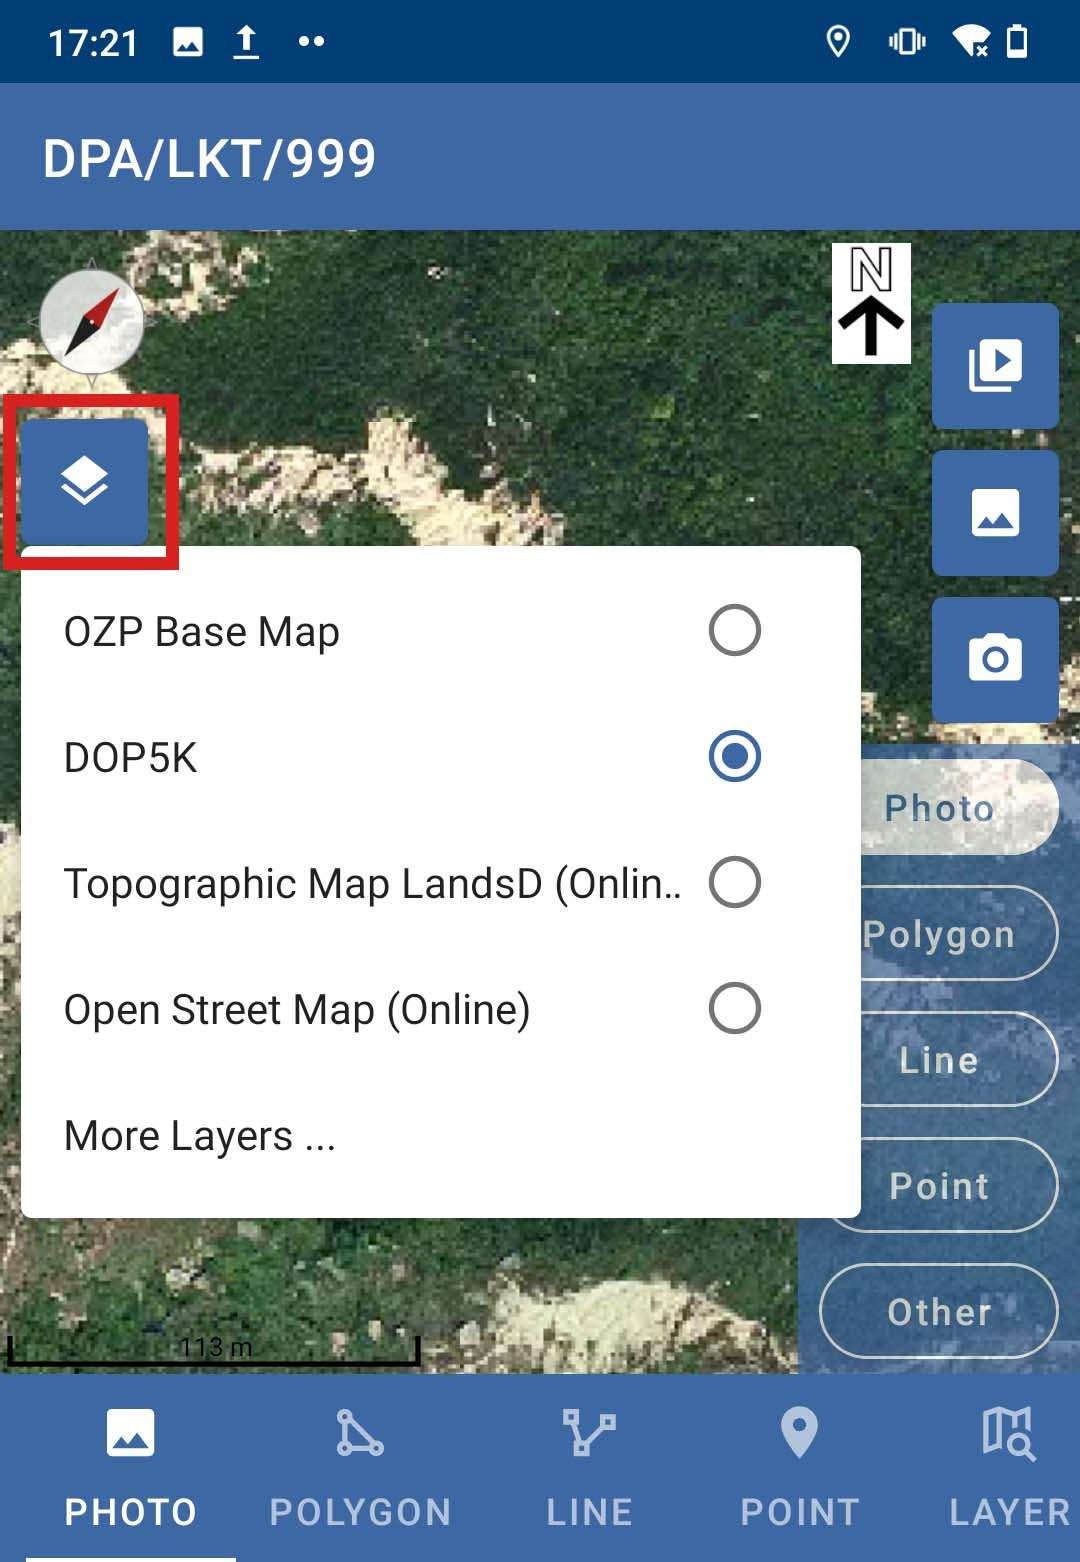 |
| 4 | The Layer page should be displayed of different types, include:
| 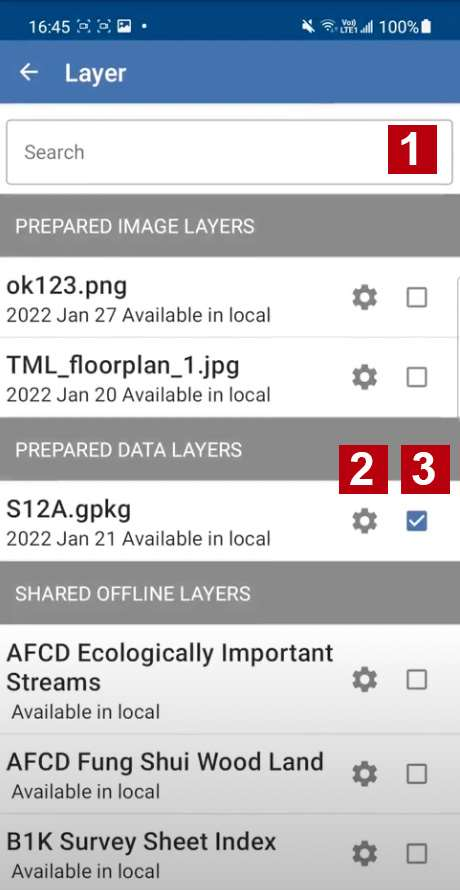 |
| 5 | For point 2, you can choose the colour with drop down list or dynamic chart. Also, the Brightness and Transparence can be adjusted. | 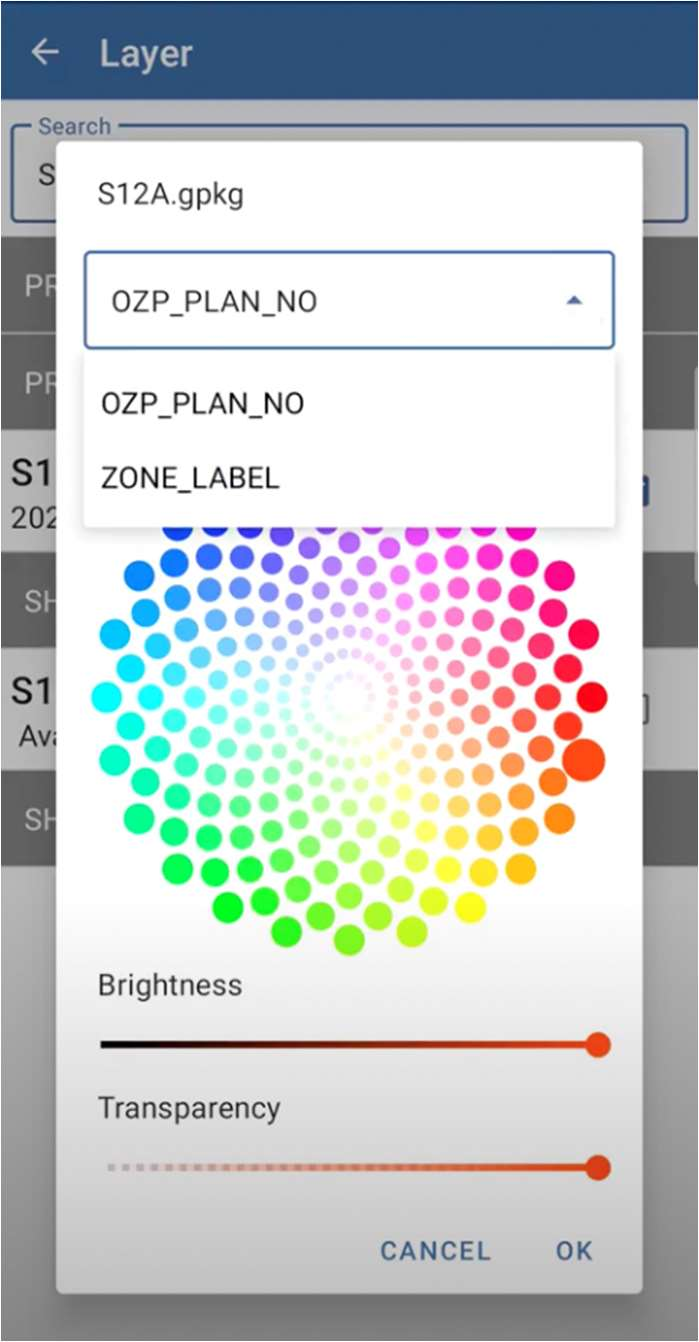 |
| 6 | Click on OK, then return to the previous page. The layer will be shown. | 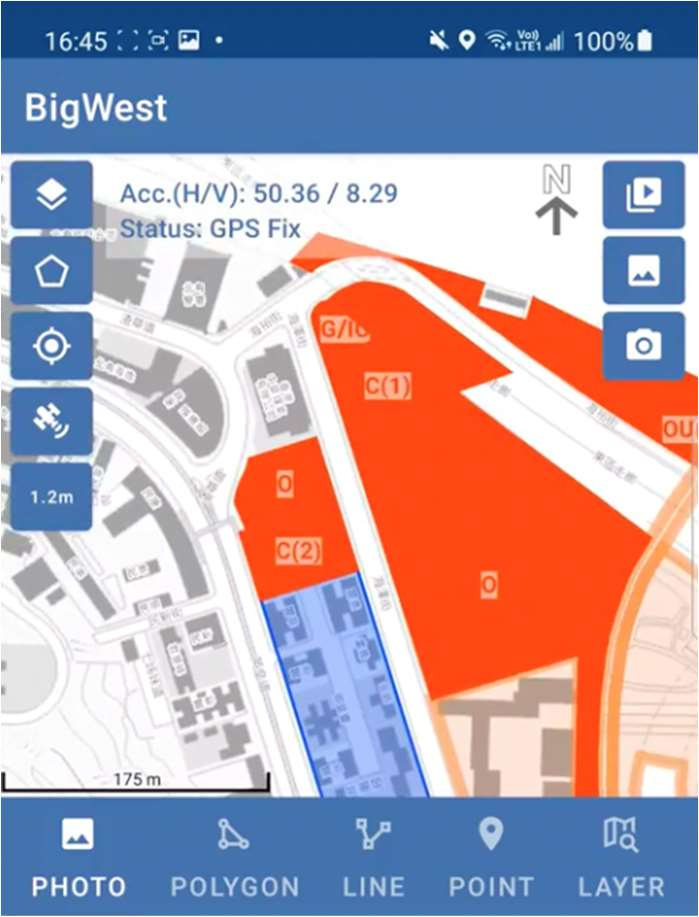 |
| 7 | The layer polygon can be set as land use as the boundary, just edit and change them as “Land Use”. This operation can be single edit or multiple selected by select or fence. (7.1) Change the Lot polygon into Land Use Polygon at once. (7.2) | 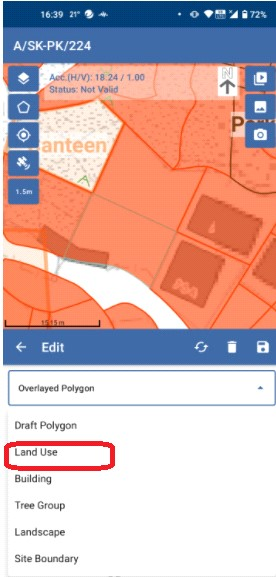 7.1 7.1 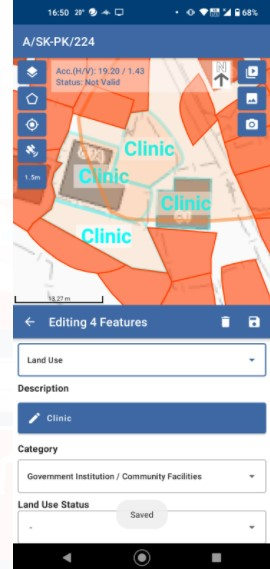 7.2 7.2 |
| 8 | The Layer page should be displayed of different types, include:
|  |
| 9 | For point 2, you can overlay the image by adjusting the Transparency. | 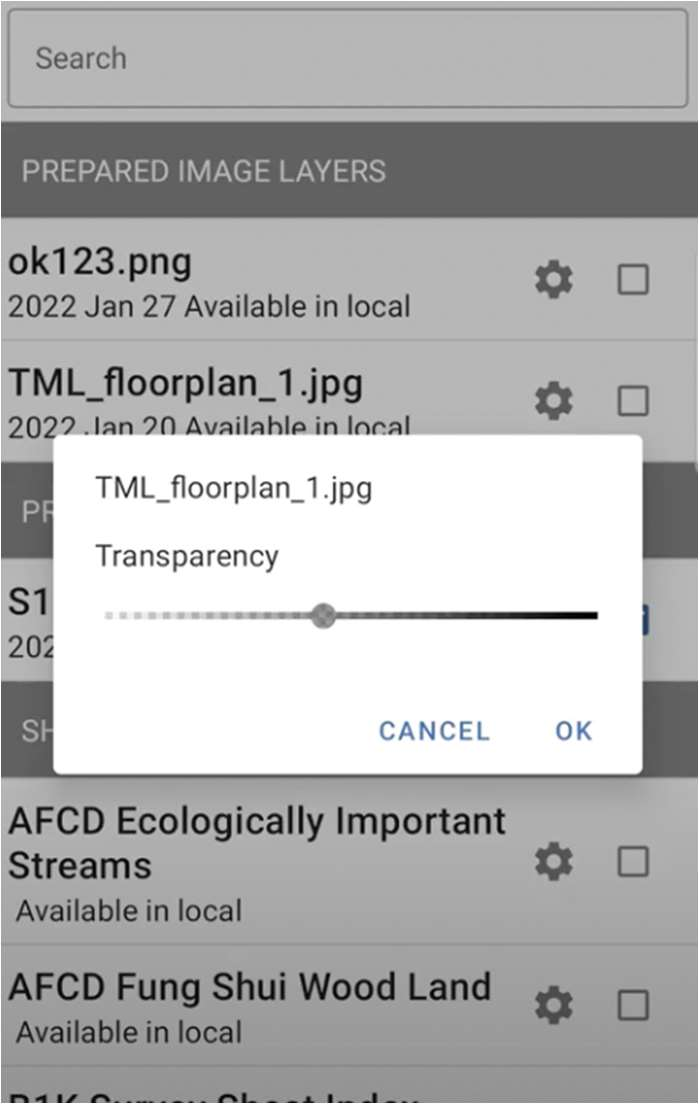 |
| 10 | Click on OK, then return to the previous page. The layer will be shown. | 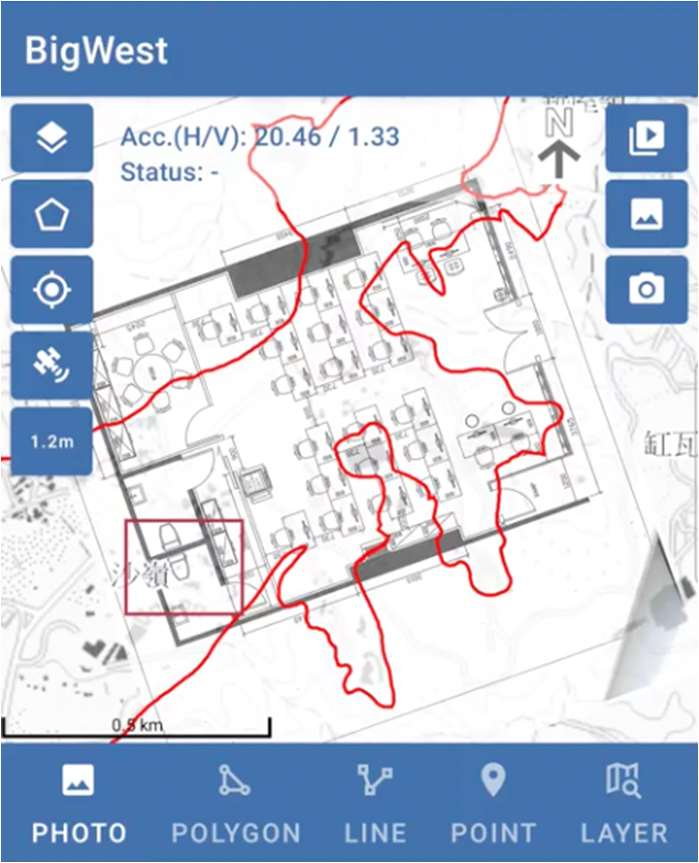 |
For Drawing the polygon:
| Description | Screenshot | |
|---|---|---|
| 1 | In the beginning, click on Polygon on the centre of the page, then polygon option will be shown. | 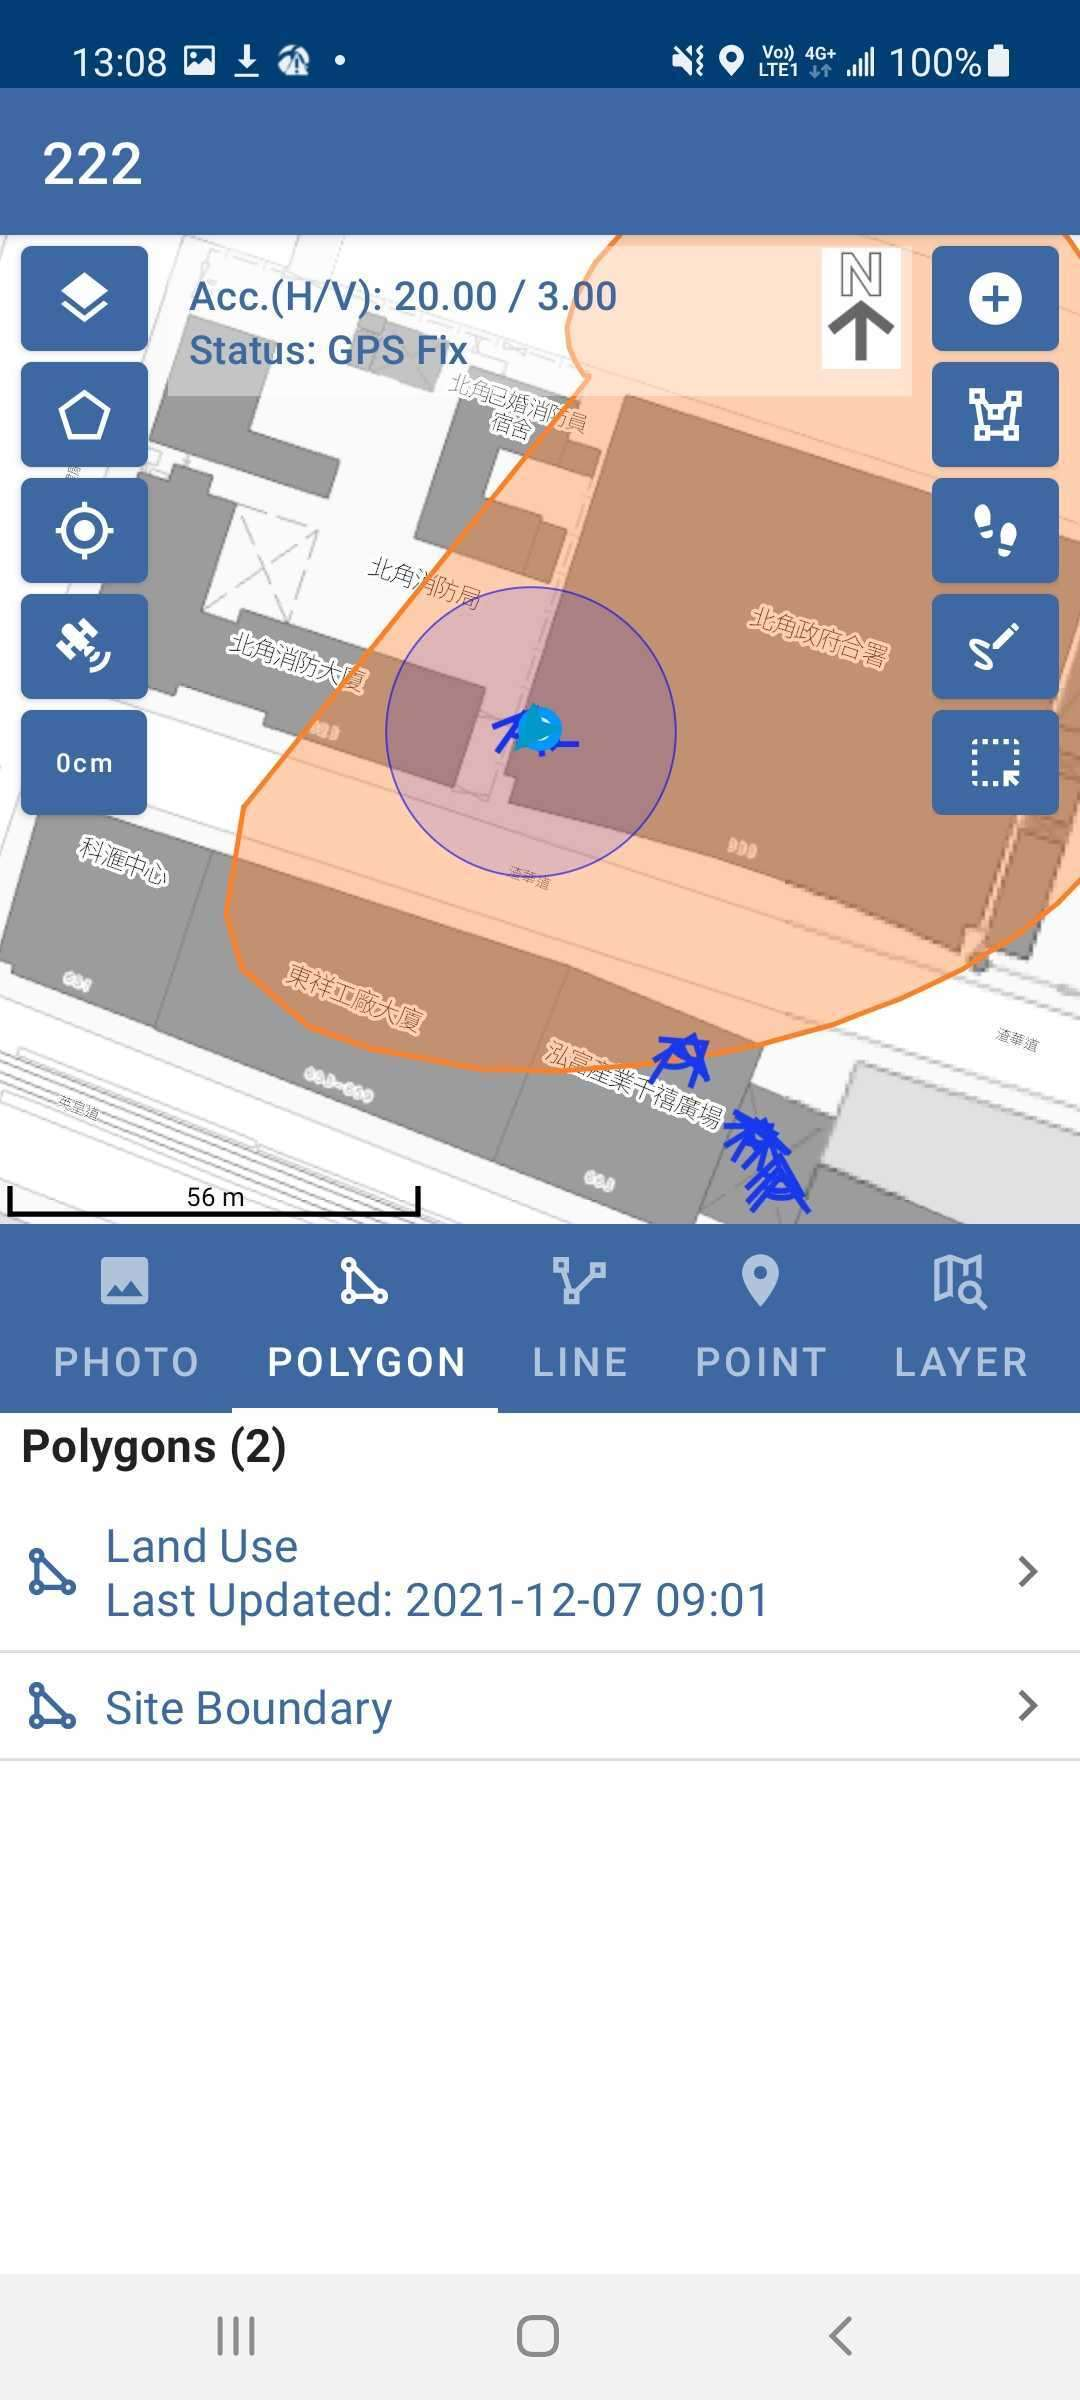 |
| 2 | For point 1, click on Adding Draft Point to draw the different types of draft points. | 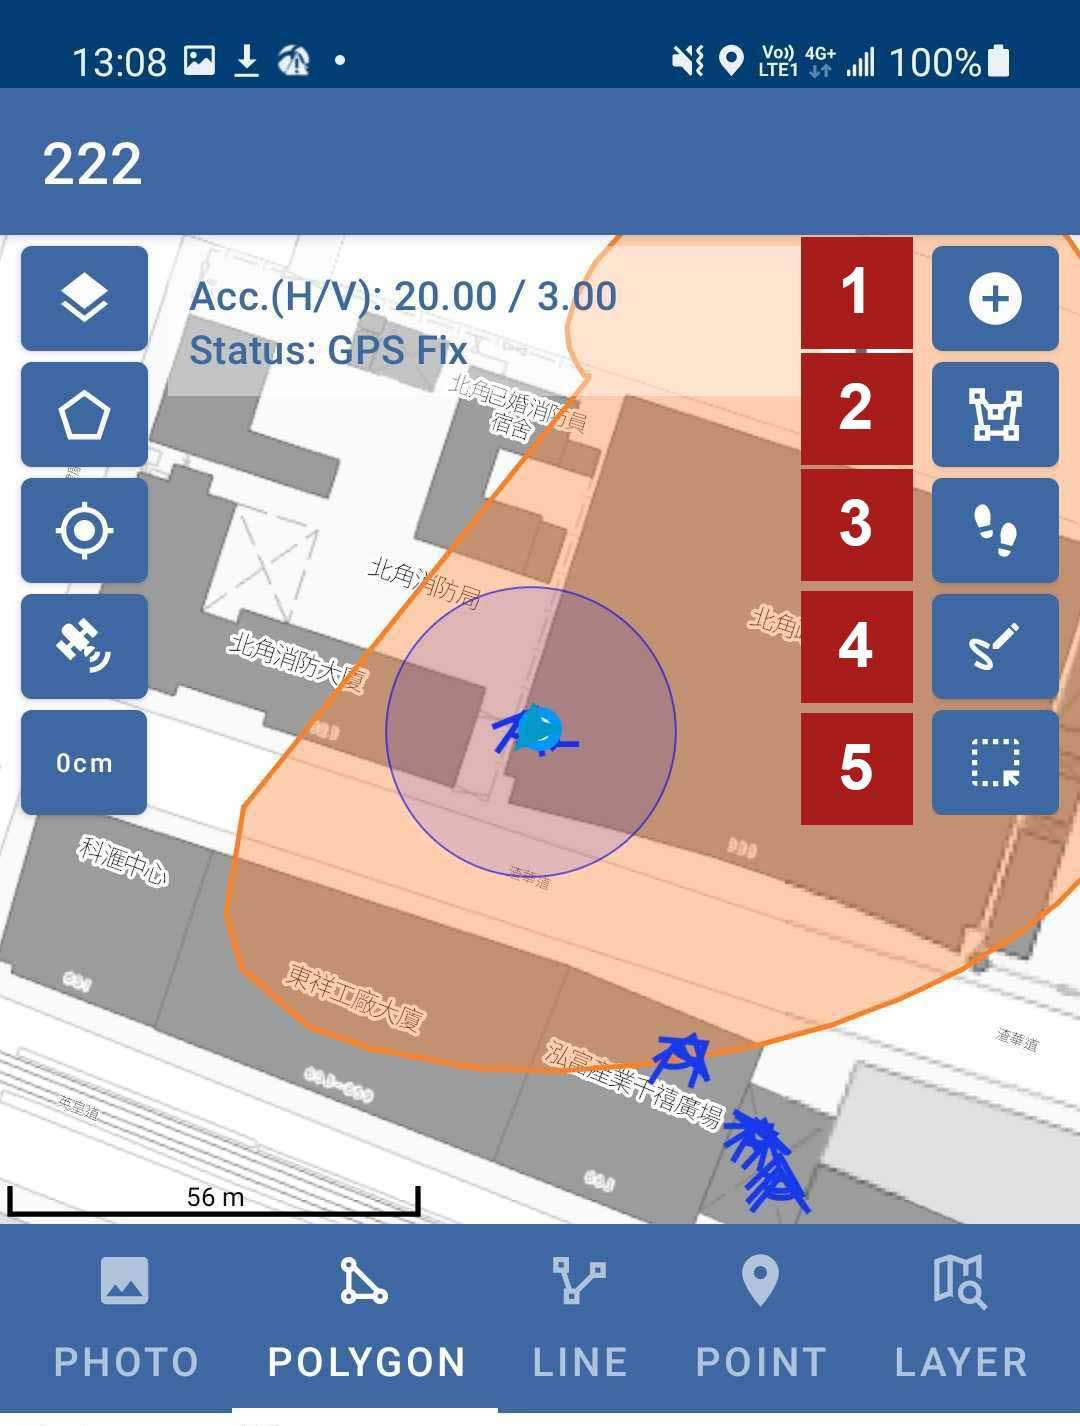 |
| 3 | Click on the map to add the draft point. You need to Fill in the detail of the draft point such as land use, building, tree group, landscape or site boundary. | 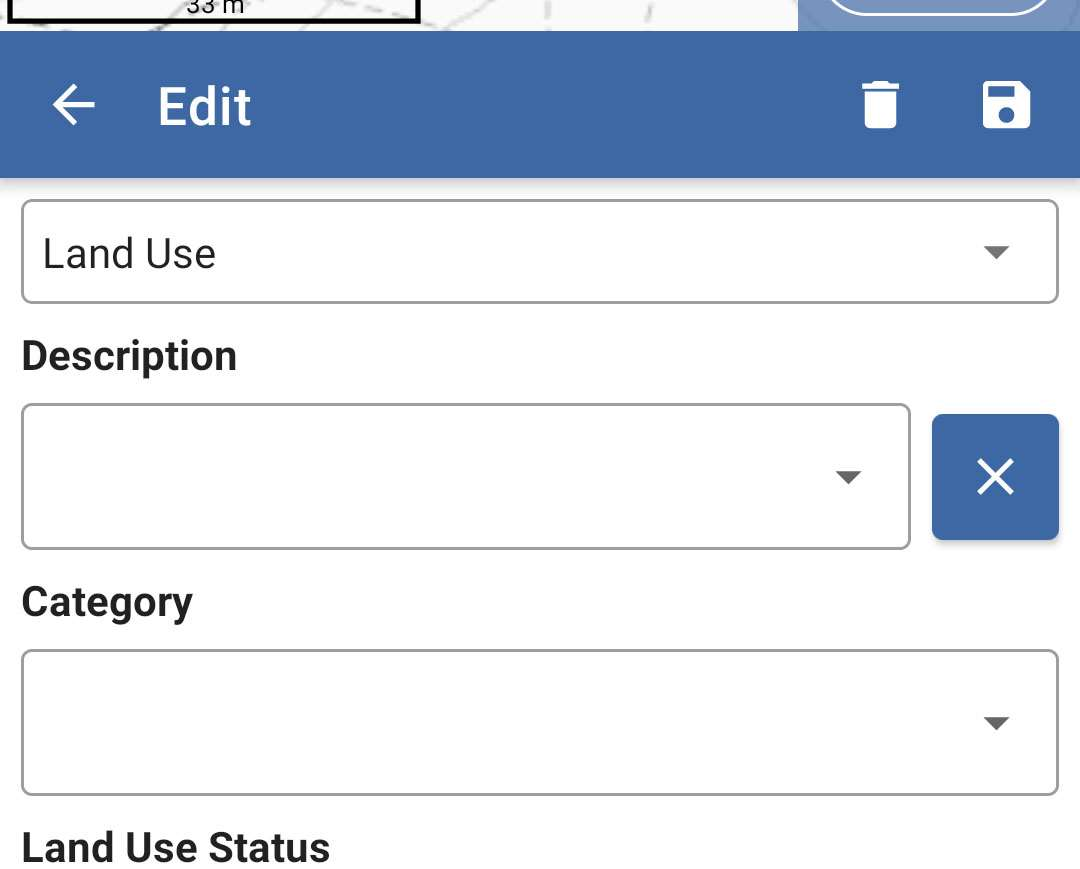 |
| 4 | For point 2, drawing the boundary on the map with multilateral shape with Pen tool. The functional button will be shown on the bottom during the drawing. These functions include the following:
| 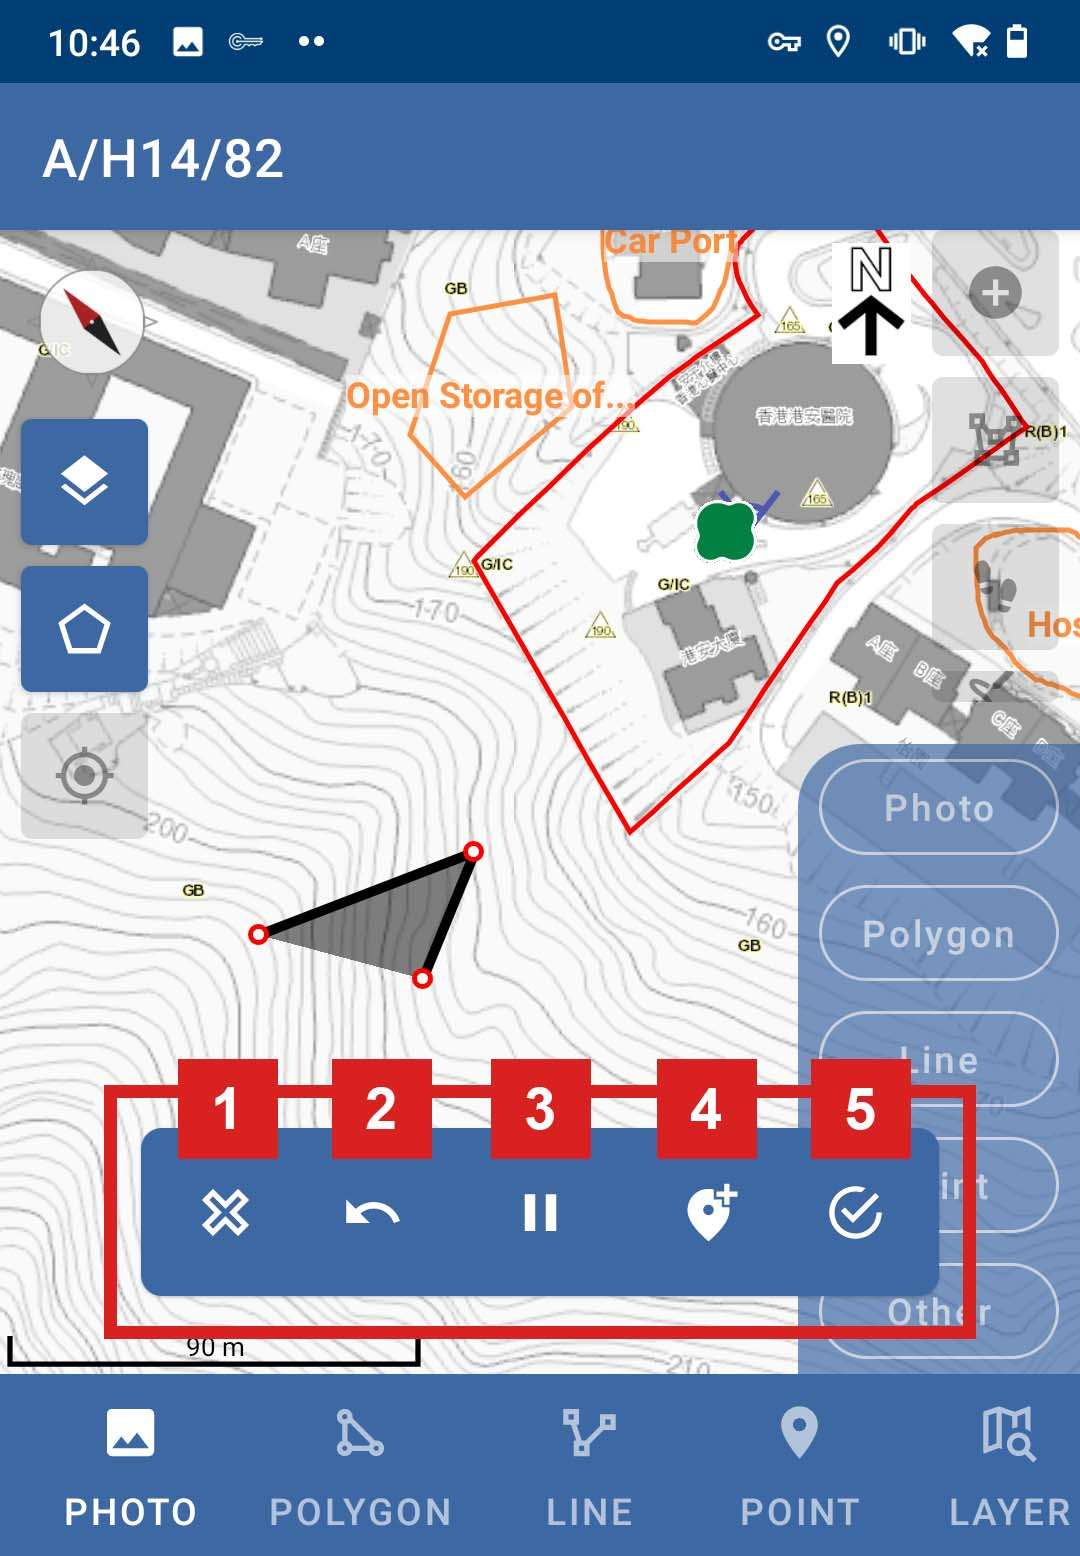 |
| 5 | For point 3, you can draw the boundary on the map with multilateral shape by Walking. | |
| 6 | For point 4, you can draw the boundary on the map with multilateral shape by Paintbrush. | |
| 7 | For point 5, you can select the single or multiple boundary on the map. |
Take photo, upload photo and edit photo position and angle
Take photo, upload photo and edit photo position and angle
Take photo, upload photo and edit photo position and angle
For Taking a Photo:
| Description | Screenshot | |
|---|---|---|
| 1 | Click on Camera icon to take a photo with your device. |  |
| 2 | After taking a photo with your device, the actual photo will be shown in the middle of the screen and the location photo will be shown on the bottom right corner. Click on the green tick accept button on the bottom right corner to save the photo or click on the red cross button on to re-take the photo If the Photo is fine but position need to adjust. Click the Map on the right bottom. |  |
| 3 | The Map will be enlarged. tap the First Point as the Photo-Taking Point , Skip if the current position in Pink is already correct tap the Second Point as the Target Point to adjust the photo-taking direction. Afterward, the Page will go back to the page above. Tap Green Tick for acept. | 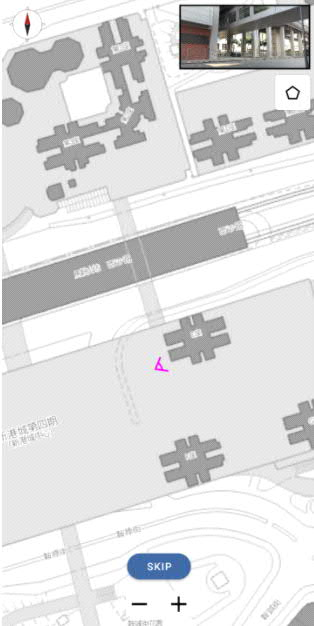 |
| 4 | After clicking on the accept button, the edit option will be shown. The photo types can be chosen by selecting the drop-down list and the remark is optional to fill in. The functional button of the remarks include:
| 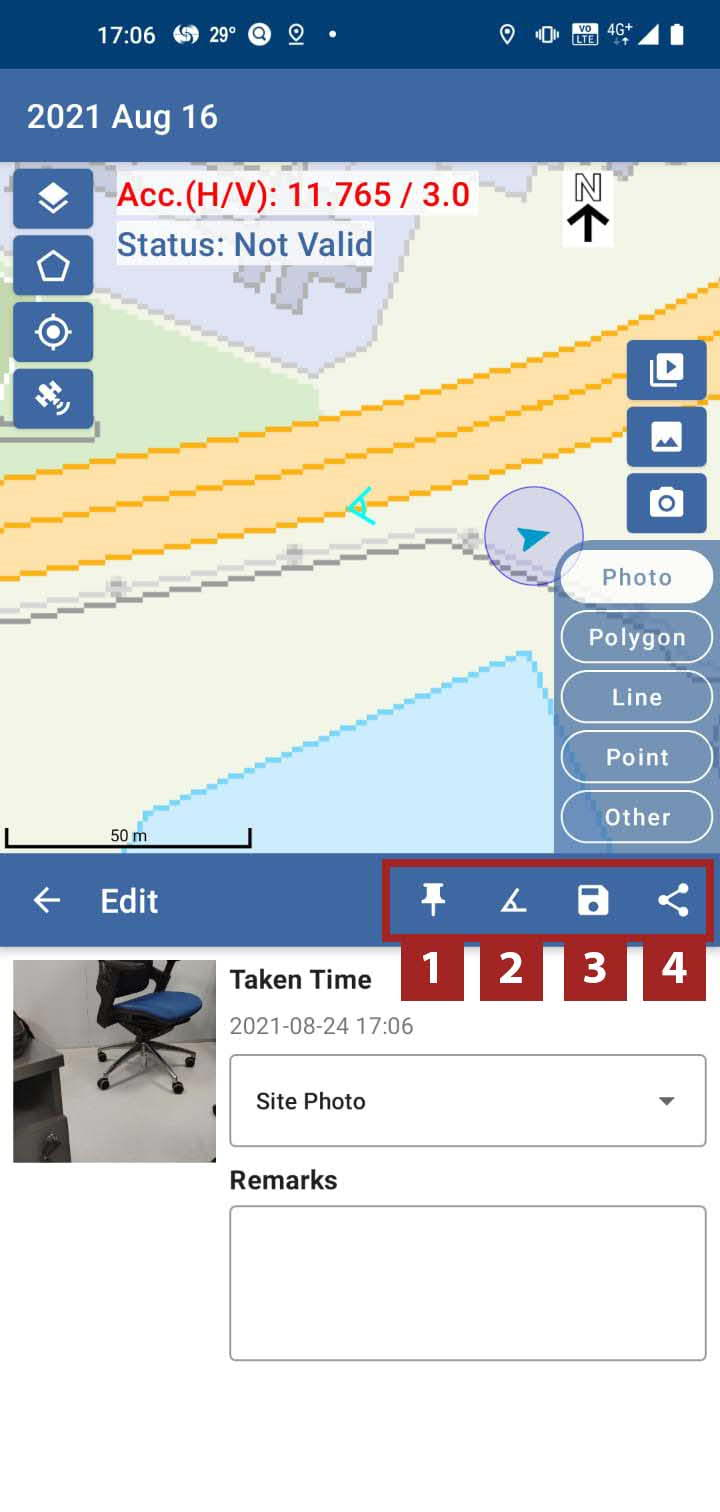 |
For Uploading the video and image:
| Description | Screenshot | |
|---|---|---|
| 1 | In the beginning, click on Photo on the centre of the page or click on Photo on the right side, then the photo option will be shown. | 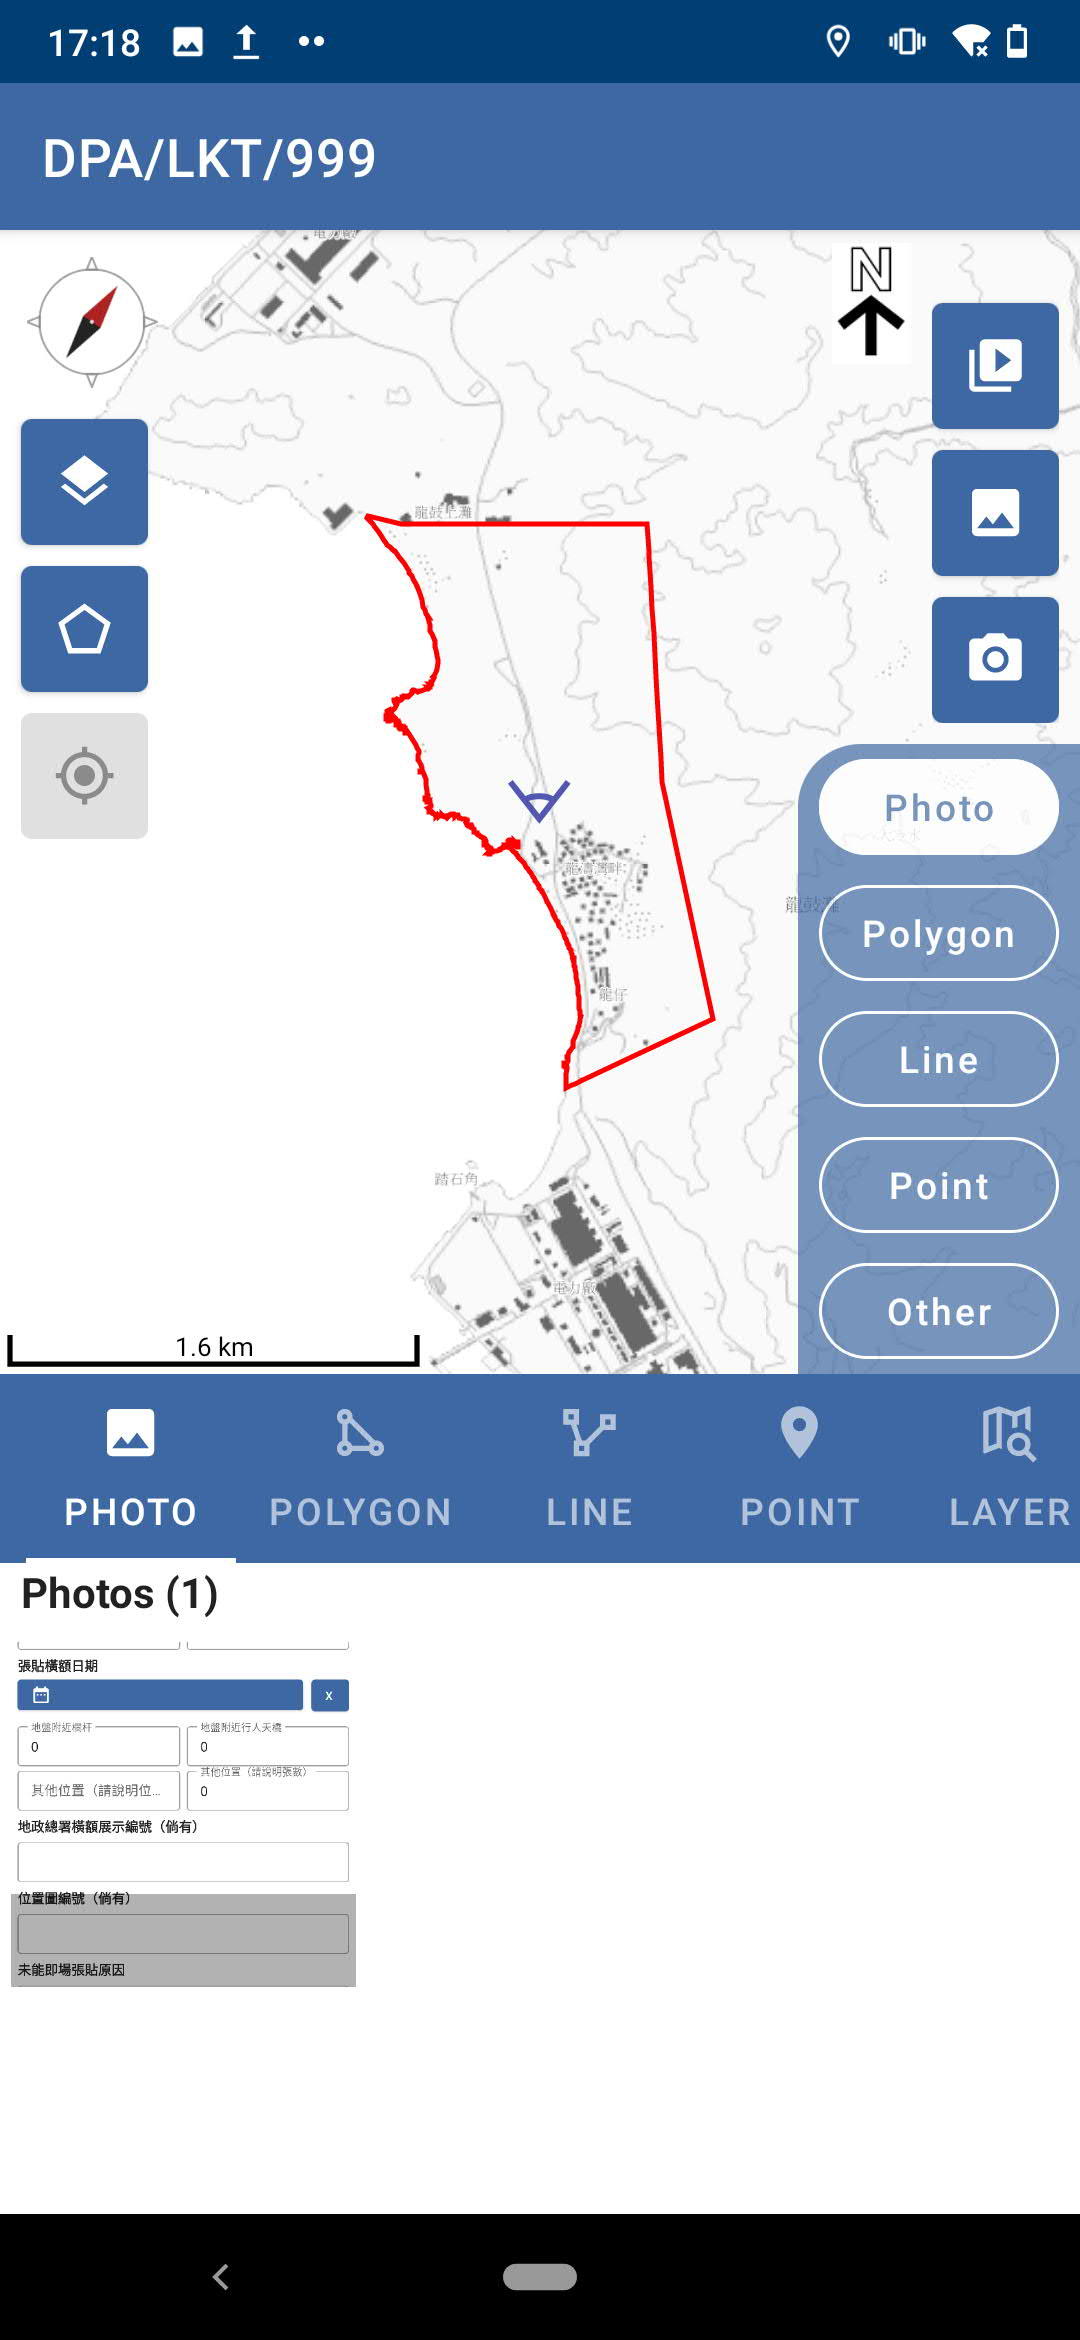 |
| 2 | Click on Video icon to upload a video with your device. |  |
| 3 | Click on Image icon to upload an image with your device. |  |
For Editing remarks on the Image:
| Description | Screenshot | |
|---|---|---|
| 1 | The uploaded photos are displayed on the photo list. | 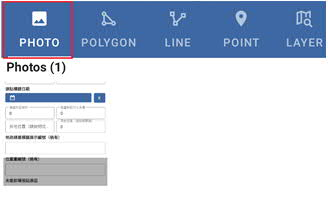 |
| 2 | Click on Photo to fill in the remarks optionally. | 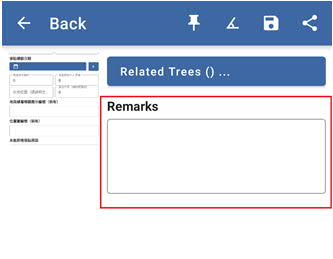 |
| 3 | The functional button of the remarks include:
| 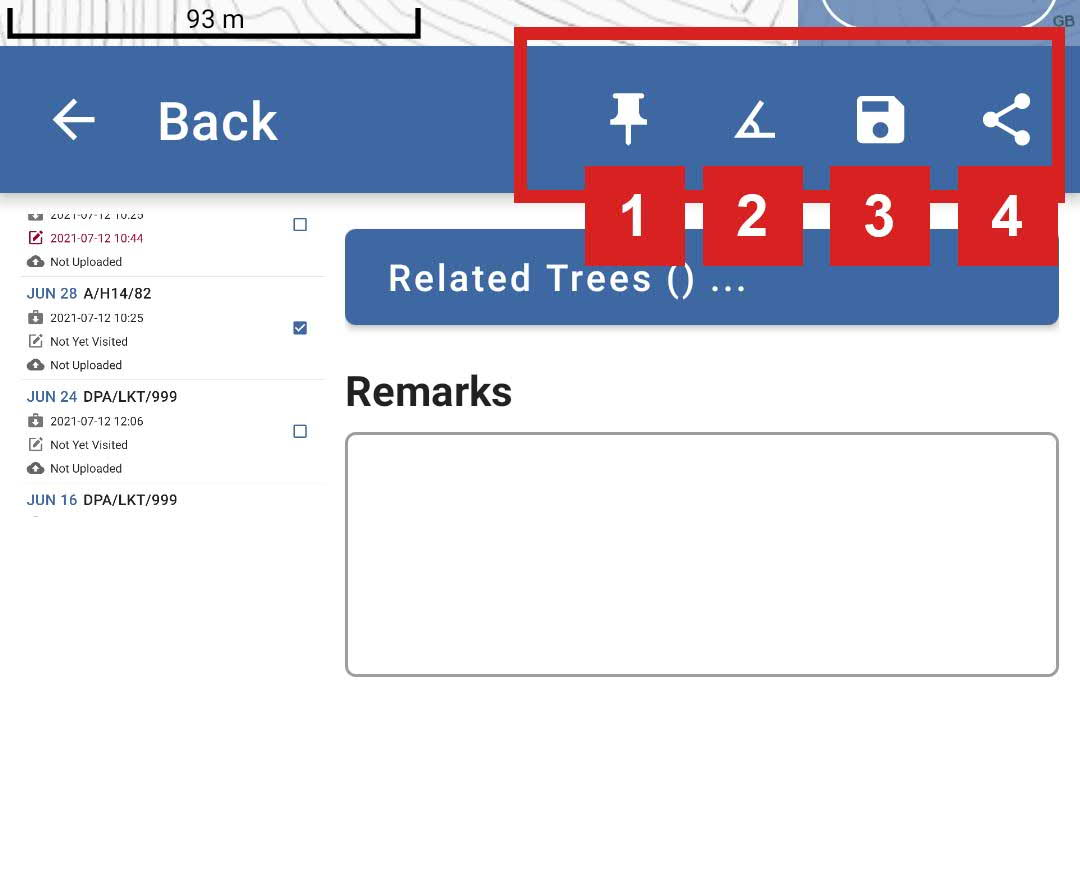 |
| 4 | Click on Back to go back to the previous page. | 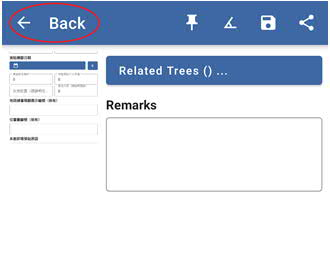 |
| 5 | For Delete the not need Photo, long press the Album and select each photo Click the bin icon to delete the Photo | 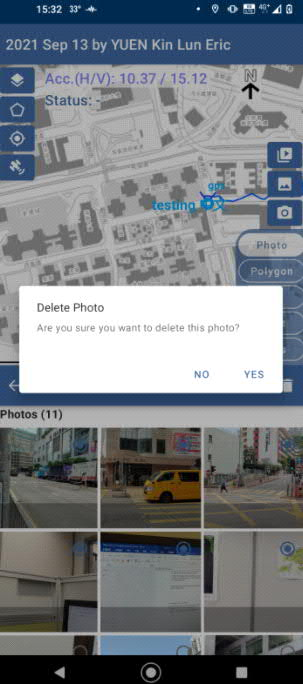 |
Edit polygons
Edit polygons
Edit polygons
| Description | Screenshot | |
|---|---|---|
| 1 | The existing Polygon is displayed on the polygon list. |  |
| 2 | Click on Polygon to edit information such as land use, building, tree group, landscape or site boundary. | 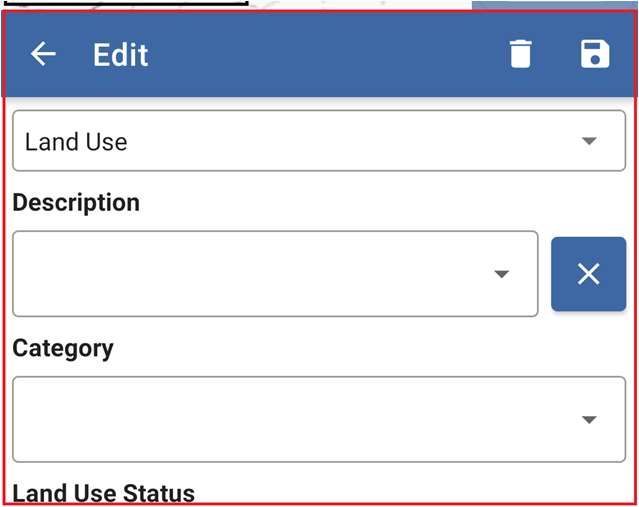 |
| 3 | The Save and Delete icons are on the top right corner. Click on Back to go back to the previous page. |  |
Site notices
Site notices
Site notices
| Description | Screenshot | |
|---|---|---|
| 1 | After clicking on the site notices button, you can click on Posting to fill in the fields to create the site notices. | 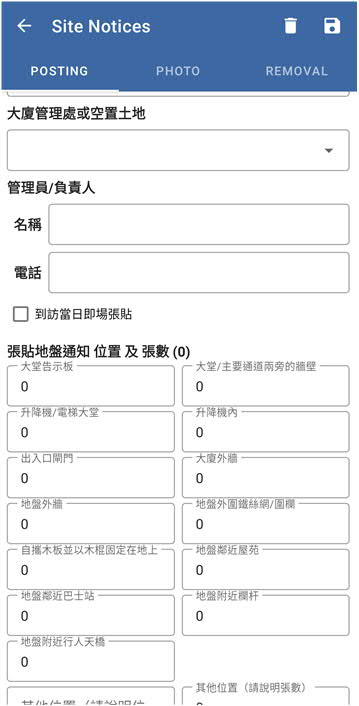 |
| 2 | Click on Photo to insert the photo with the site notices. You can click on Take Photo button to take a photo with your device and click on Insert Photo button to upload actual photos of site notices and site view with your device. | 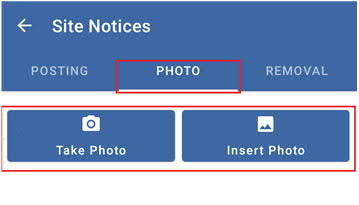 |
| 3 | After taking a photo or inserting a photo, the image will be shown. Click on Photo to record the respective incident with the remark. | 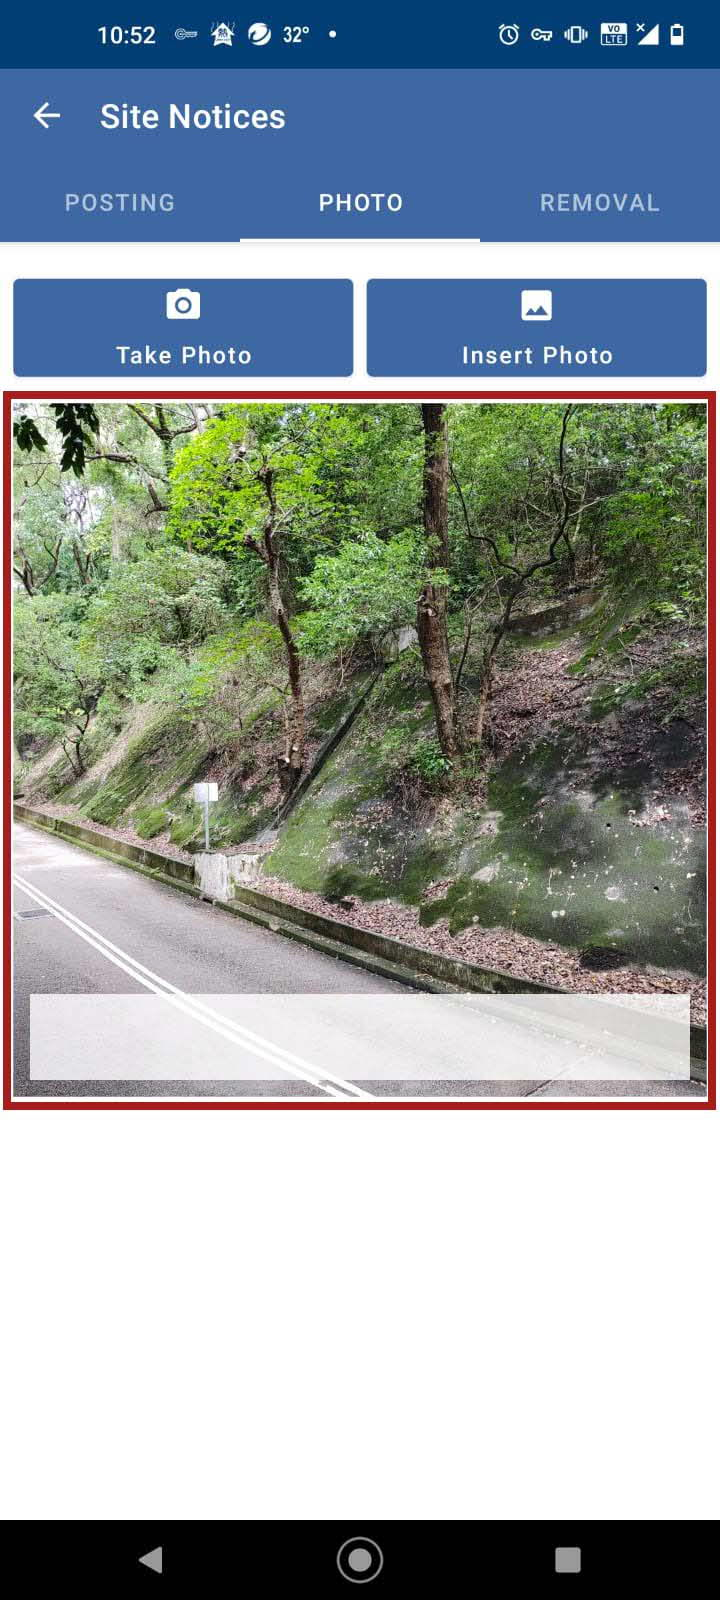 |
| 4 | After taking a photo or inserting a photo, the image will be shown. Press and Hold for 3 seconds on Photo to prompt the cancel button and delete button for respective actions for the selected photo. | 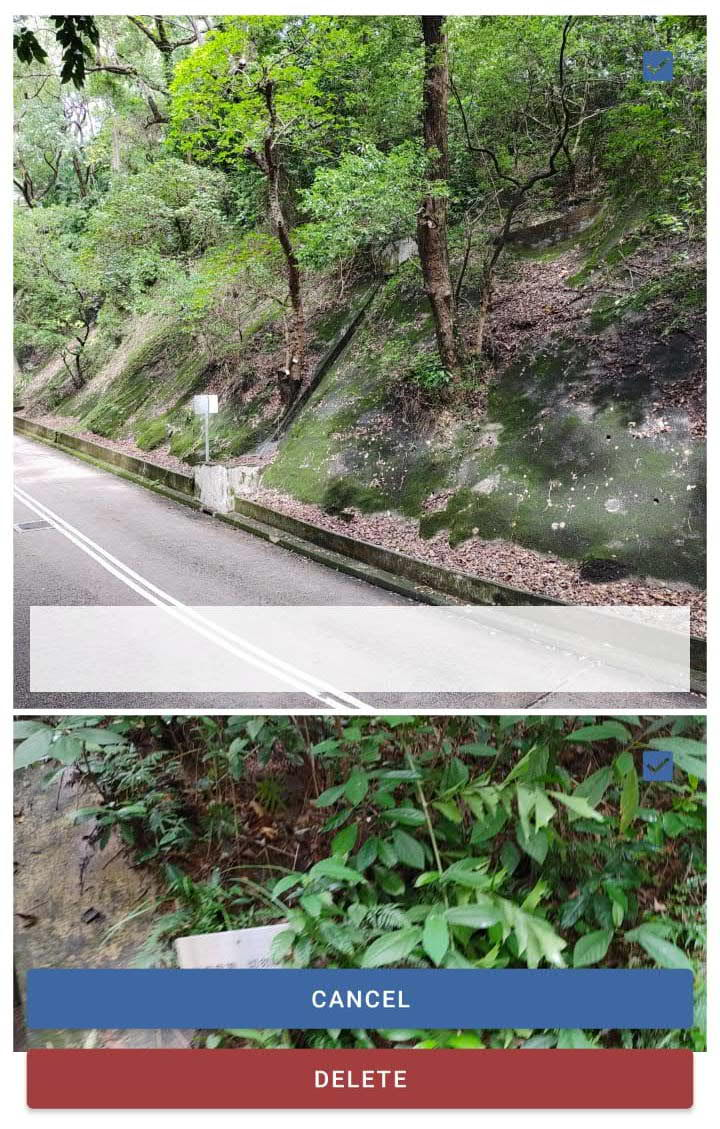 |
| 5 | When the Site Visit is about the Removal of the Site Notice Click on Removal to remove the actual sites notices with fill in the fields. | 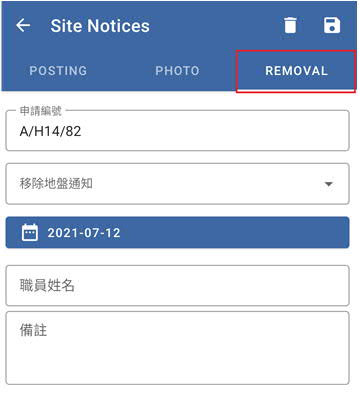 |
| 6 | The Save and Delete icons are on the top right corner. Click on Return to go back to the previous page. | 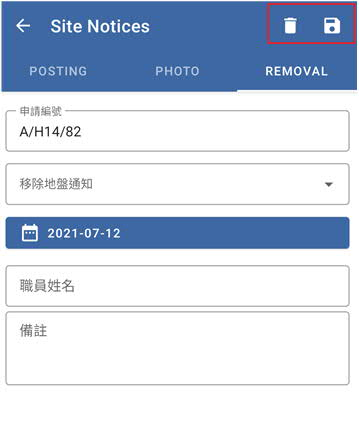 |
ISSIS Web
Create Project and upload Shapefile
Upload zipped Shapefile for Overlay and set Geo-reference